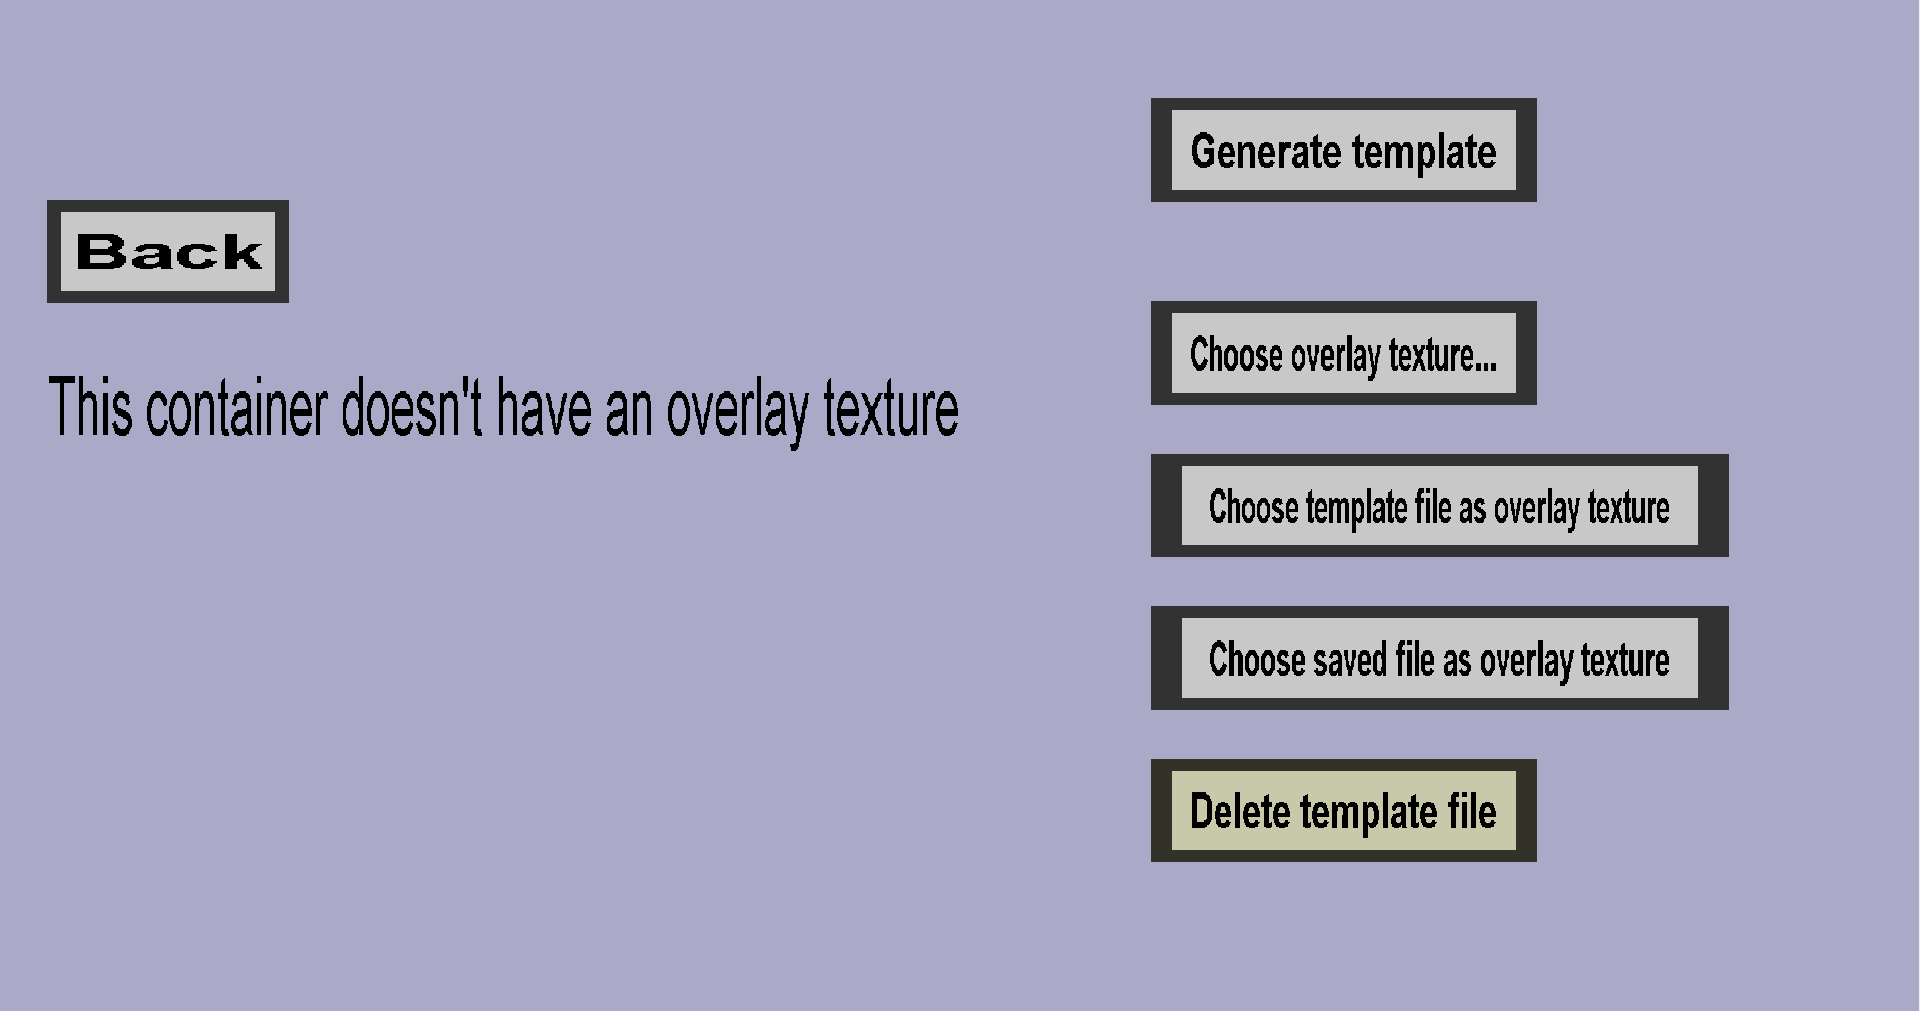
The container overlay texture menu can be used to view the current overlay texture of a custom container, replace it, or generate a template texture for it. If you haven't chosen an overlay texture yet, this menu should look like this:

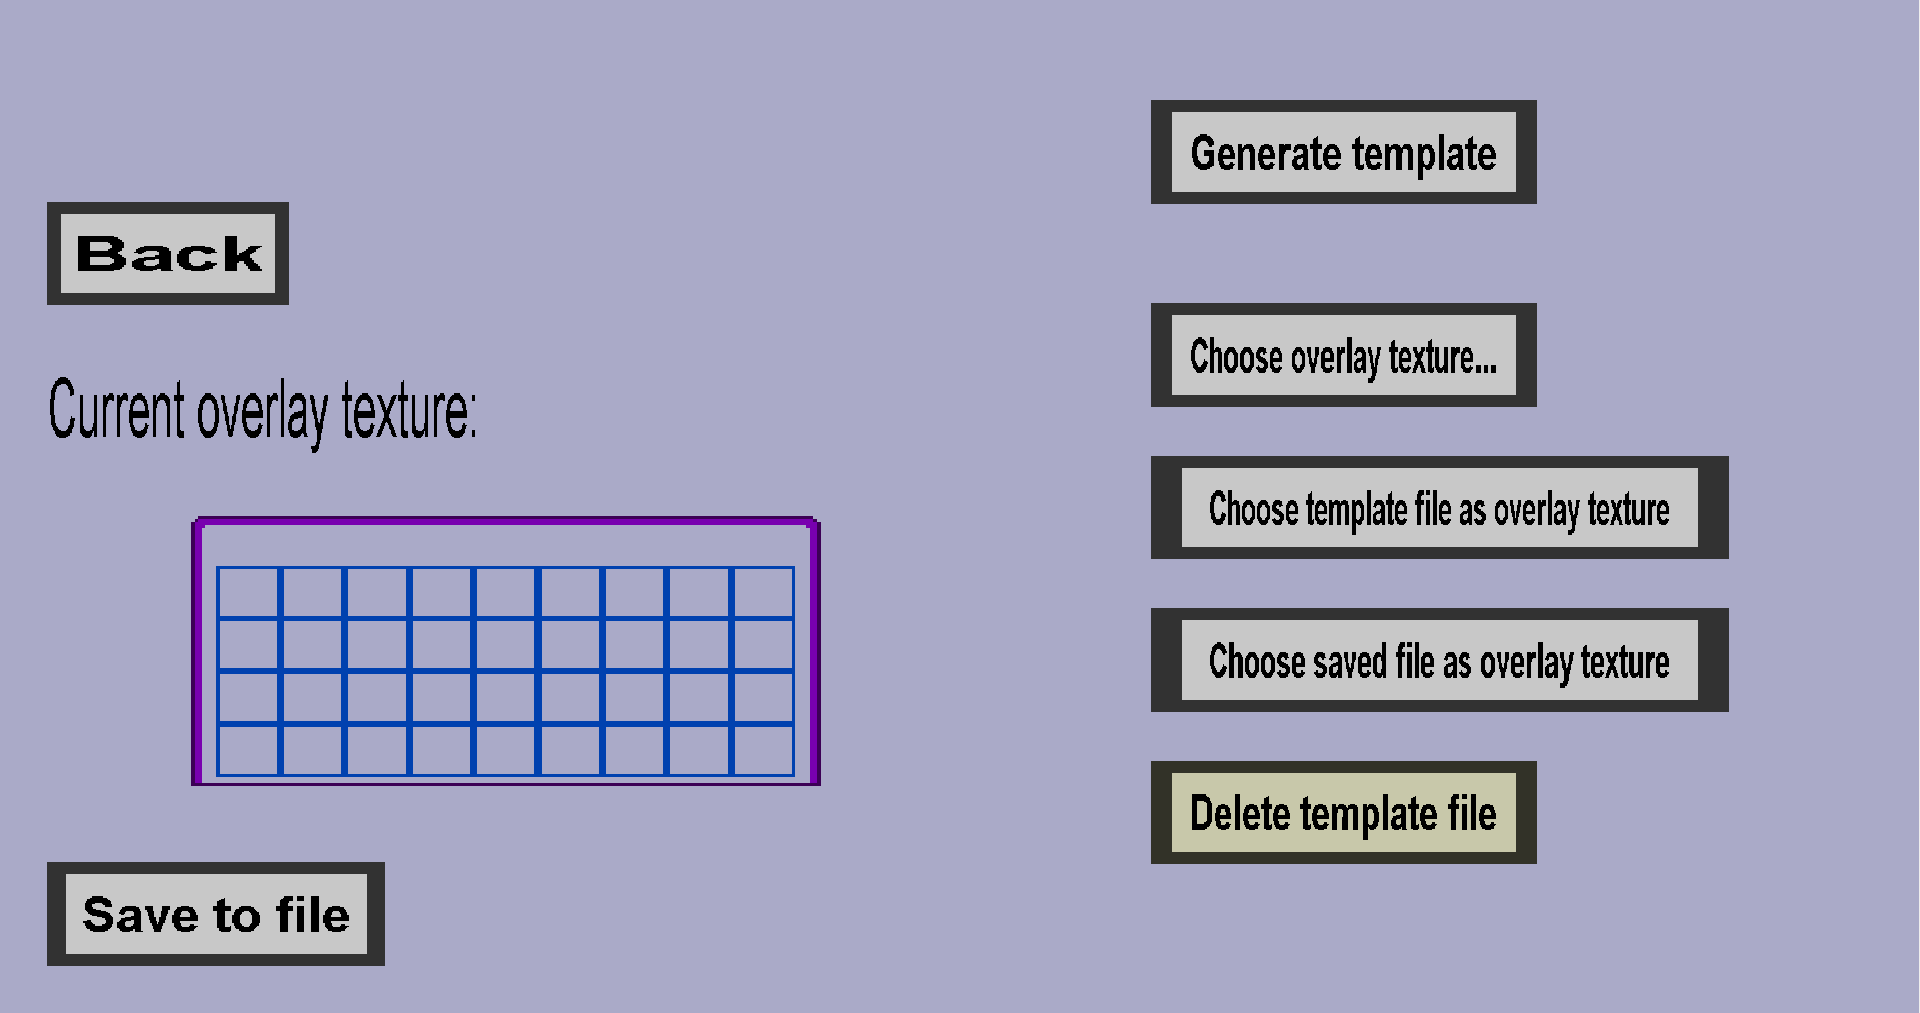
But if you did choose an overlay texture, it should look like this instead:

The Back button will take you back to the container edit menu.
The Save to file button will save the current overlay texture of the custom container to the file Custom Item Sets/containers/CONTAINER NAME/overlay.png. After the file was saved, it should automatically be opened in your default image editor program. This can be useful if you would like to make small changes to the overlay texture. (This button is only visible if the current container has an overlay texture.) This button is very useful in combination with the Choose saved file as overlay texture button.
The Generate template button will create a template overlay texture for the custom container at the file Custom Item Sets/containers/CONTAINER NAME/template.png. After generating the template, it should automatically be opened in your default image editor program. The template is a very simple 'example' overlay texture that shows you where the edges of the custom container and its slots are, which should make it easy for you to edit. This button is very useful in combination with the Choose template file as overlay texture button.
The Choose overlay texture... button will open the file chooser menu, where you can choose the overlay texture for the custom container. While this is possible, it is usually more convenient to use the Choose template file as overlay button or the Choose saved file as overlay texture button.
Chooses the image stored at the template file location (Custom Item Sets/container/CONTAINER NAME/template.png) as the overlay texture of the container. This button is useful in combination with the Generate template button:
Chooses the image stored at the saved file location (Custom Item Sets/container/CONTAINER NAME/overlay.png) as the overlay texture of the container. This button is useful in combination with the Save to file button:
Deletes the template file (Custom Item Sets/container/CONTAINER NAME/template.png). This is just a convenient button to avoid the need for you to travel to the template file in your file system and delete it manually. Deleting the template file is needed when you want to generate a new template file because the Generate template button will not work if a template texture already exists (to prevent you from accidentally deleting all of your image editing work).